Home

SPECIAL - HobbyTown USA contest photos | Meeting news and minutes | Oldies but Goodies | The Newsletter | Chapter Officers and members list | Chapter events | Shows, Contests and other Events | New kit releases (updated!) | Tips and Techniques | Projects on the bench | Works in Progress | Members models (Updated) | Model Gallery | WORK BENCHES | Book and Kit reviews | Modeling links | Classifieds, wants and disposals | Contact us
IPMS/MISSISSIPPI MODELERS
Works in Progress

This new page here is for Works in Progress models. Pictures from begining to end of the construction of models that are being built. Anyone may submit pics to this article here.

Members Works in Progress page's, click here!!

The following  Work in Progress is being submitted by P.Hensley.

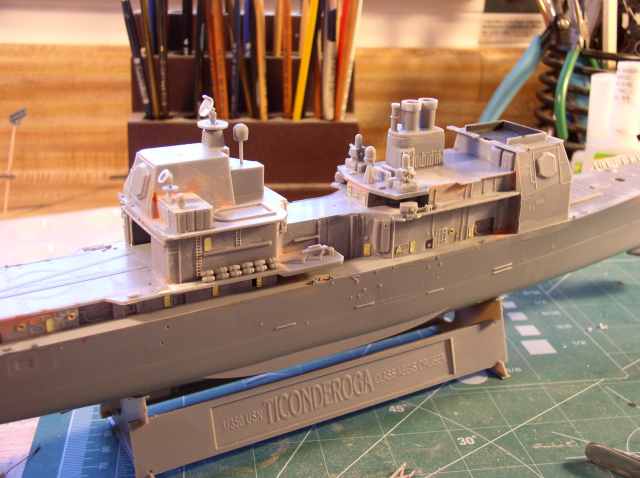
This is the DML 1/350 kit of the Aegis Class Cruiser. This kit, like most all other DML or Dragon, is made off the same molds as the other Frigates and Destroyers in the DML line of their 'Modern Sea Power Series'. The only difference being on this is on the upper superstructure forward and aft, which has the AEGIS  Radar systems, and the angular superstructure signature. Other than this, the hull and all other parts are the exact same thing. One must for these are ready accurate kits would be to add the Gold Medal Models Photo Etch brass sets. These are the most accurate and the most easy to handle of all the aftermarket Photo etch parts company's, and are highly recommended.

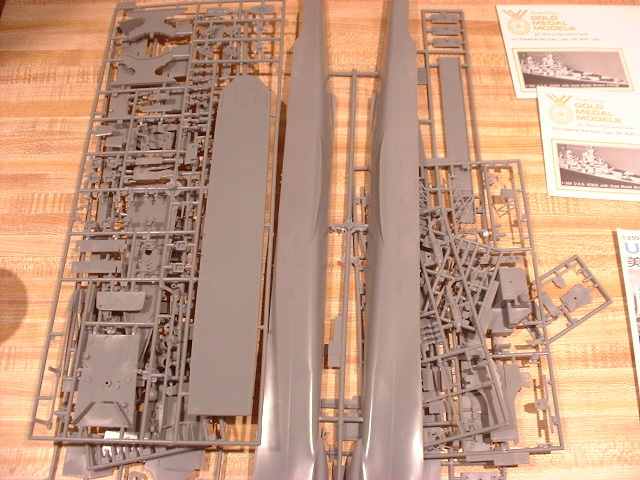
(below) The parts layed out.

partsforantietam.jpg

(below) The two photo's below show the putty that had to be used to fill in the gap where the top bow deck meets the hull. The fit in this area was very uneven, and required alot of filler, as can been seen.

hullputty1.jpg

hullputty2.jpg

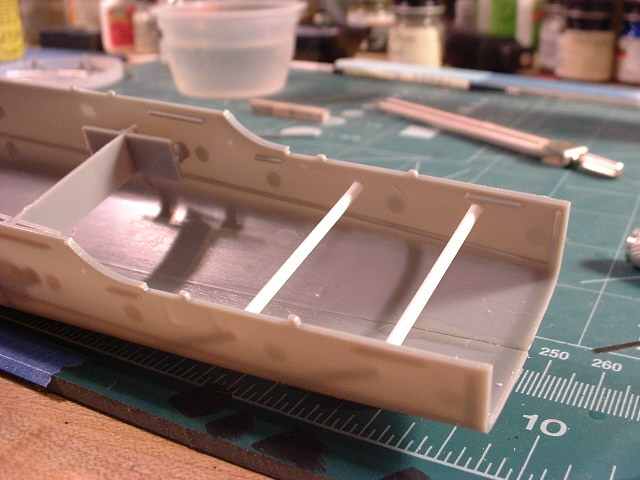
(below) Here I'm having to plug the holes for the model stand, as I will be using strips of basswood instead of the kit supplied stand. I just cut these off and sand them flush.

plugonhull.jpg

spyradar1.jpg

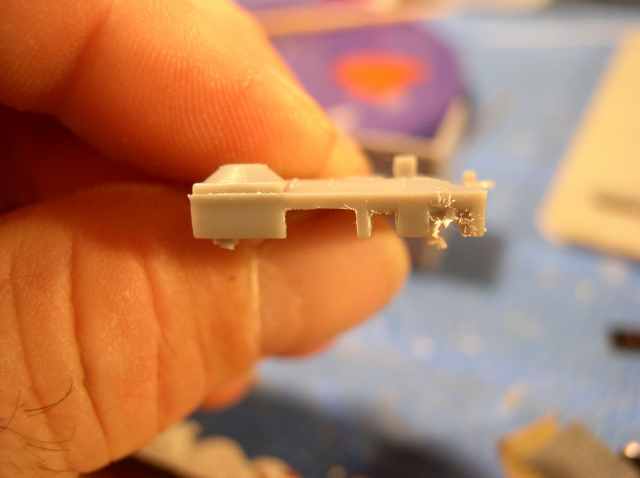
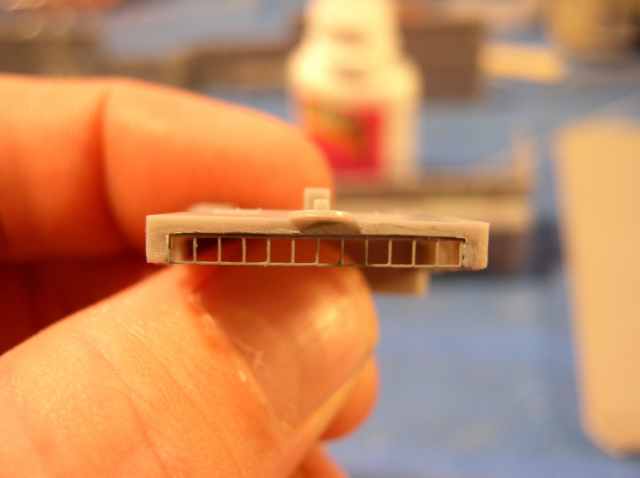
(above) The spy1 radar array subassembly is shown here.

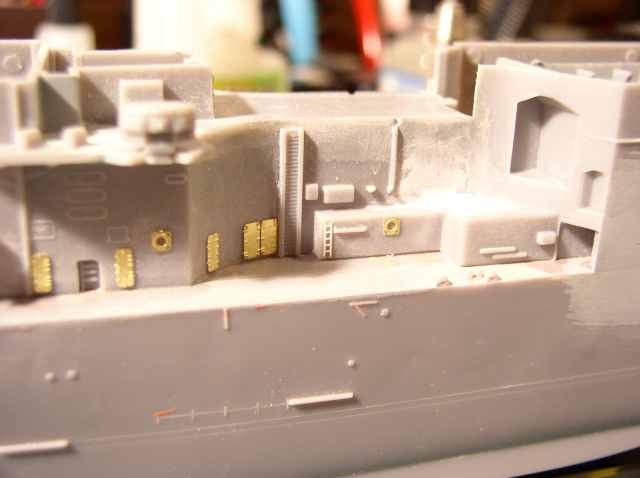
(below) The fit between the superstructure and the deck have a few gaps that needed filling. Here i've thinned down some putty and ran along the seam, then sanded.

puttyfillerstarboard.jpg

(below) The SPS-49 Radar

radar6.jpg

(below) The kits instructions and PhotoEtch envelopes.

instructions.jpg

(below) Here I had to make new propellar shafts, as the kit ones were all warped and had lots of flash. I made these out of small diameter aluminum tubing I had laying around.

propshaftsnew.jpg

(below) The new aluminum shafts.

newshafts.jpg

(below) Here I'm cutting out one of the doors. Not many need to be shown open, but just enough to add some depth and perspective.

cuttingdoor1.jpg

cutdoor2.jpg

(below) Here the fit with the decking was less than perfect, so I'm having to fill the gap. Here I am sanding the seam. I thinned down Squadron green putty with testors liquid cement, and it flowed right in the seam good.

sandingseam.jpg

(below) The helo deck is now in place.

helodeck1.jpg

(below) Right side of the ship.

leftsideofship.jpg

(below) The SPS-49 Radar now together. This PhotoEtch was a real pain to get together.

radar1.jpg

(below) The stock kit stiffners, that add support to the flimsy sides. You'll need to add more as these are not enough.

stockstiffners.jpg

(below) Here I've added round styrene as extra stiffner supports.

addedstiffners.jpg

(below) Here ive drilled out the fairlead holes.

holesdrilledoutwithknife.jpg

insideholesview.jpg
inside view

(below) Here I'm cutting out and replacing the bridge windows with PhotoEtch. These PE windows are for the New Jersey Battleship kit,  but I've decided to use them here.

bridgecutout1.jpg

frontbridgewindows.jpg

bridgewindowsinplace.jpg
PE bridge windows in place

photoetchbridgewindows.jpg
PhotoEtch set

(below) The fit here on this seam was a little less desirable, so I had to fill with some putty.

leftside1.jpg

(below) The left side of the SPS-49.

radar4.jpg